Azerbaijan
F1 2021 Azerbaijan Setup: Full race setup, qualifying setup, drivability setup
Hot Lap Setup
Table of Contents
Race Setup
Baku is one of the newer circuits on the calendar, and the street circuit has given us some dramatic races over the years. 2021 saw Max crash on the start/finish straight in dramatic fashion after a tyre failure. Hamilton looked sure to make up some solid points after the red flag restart, but messed up with his brake magic settings and ploughed straight off the circuit in turn one. Sergio Perez went on to seal his maiden F1 victory!
Aerodynamics
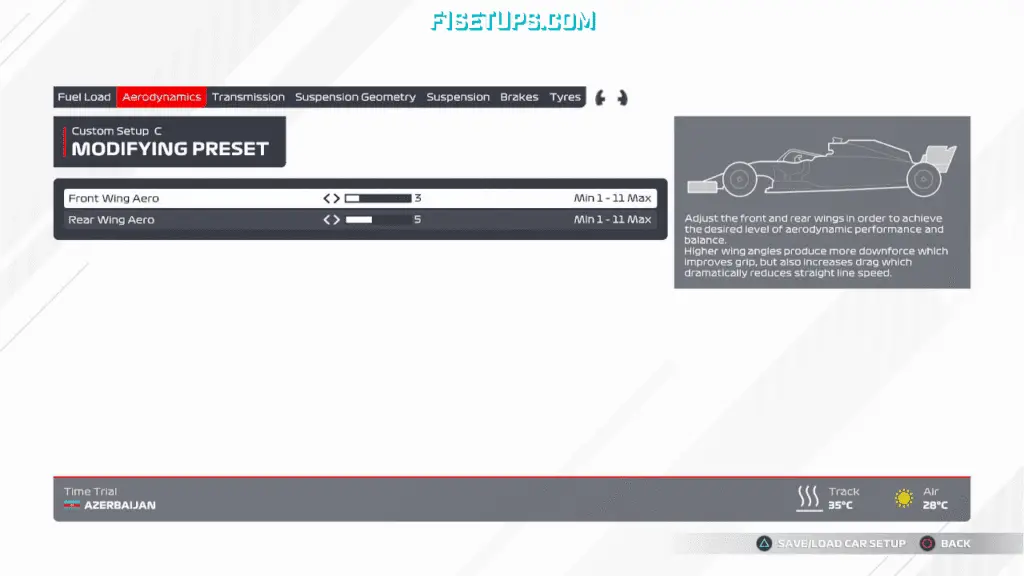
Front Wing Aero – 3
Rear Wing Aero – 5
With its long straights, we are recommending 3-5 wing angles here. We found this kept the car fast down the straights, with just enough downforce to get us through the corners. Be careful about going any higher than these values as you will find it hard to overtake.
Transmission
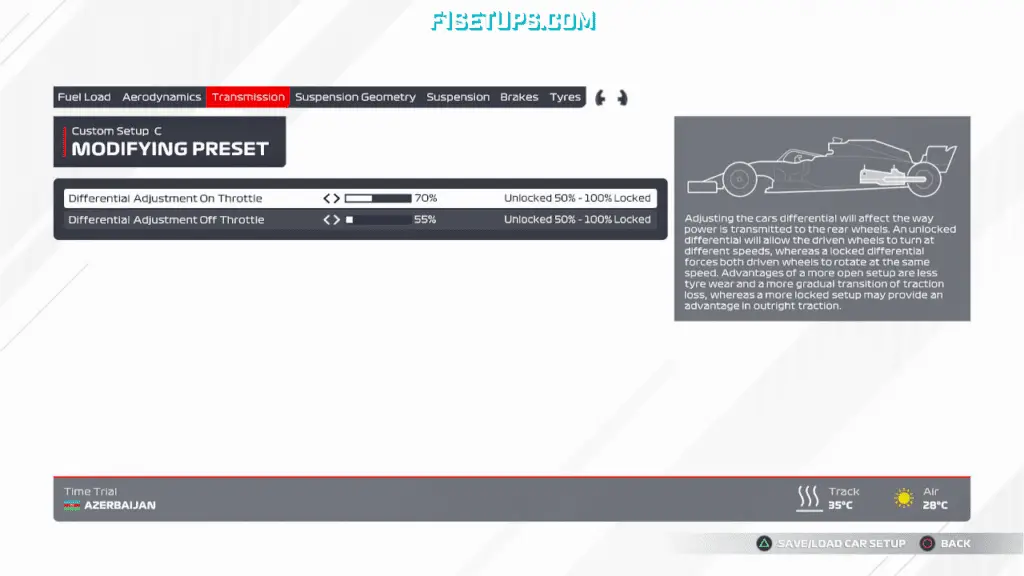
Differential Adjustment On Throttle – 70%
Differential Adjustment Off Throttle – 55%
Transmission is a critical area of the setup for traction, affecting acceleration, grip, rotation, tyre wear, and drivability. Increasing the On Throttle Differential will make the car more stable on acceleration, however, will increase tyre wear. Here in Baku we will use 70%/55%. This will aid rotation in lower speed corners and should help protect the tyres from excessive wear. Increasing rear diff will improve straight-line acceleration and stability on corner exits, however, will come with a slight cost on wear.
Suspension Geometry
Front Camber – -2.50°
Rear Camber – -2.00°
Front Toe – 0.06°
Rear Camber – 0.20°

Geometry adjustments mainly impact grip and tire wear, however on F1 2021 most circuits suit the same settings! Stick with high front camber, and low everything else in this section for best results.

Suspension
Front Suspension – 2
Rear Suspension – 6
Front Anti-Roll Bar – 2
Rear Anti-Roll Bar – 6
Front Ride Height – 3
Rear Ride Height – 6
Suspension adjustments impact responsiveness and stability through corners. This is probably the most important area of the setup, so if you are struggling with rotation then the anti-roll bars are where you should start. Ride height plays a much more important role this year, so the keep the rear high to avoid the diffuser bottoming out at high speed. Floor damage can ruin performance, so a higher than usual ride height here should help protect those delicate aerodynamic surfaces.
Brakes
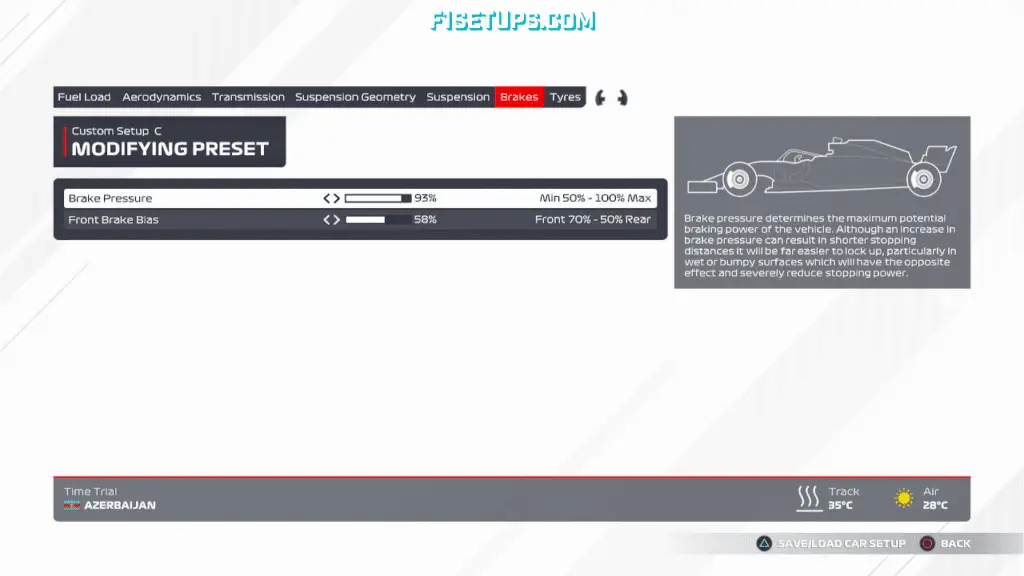
Brake Pressure – 93%
Front Brake Bias – 58%
For players on controller, brake pressure adjustments can have minimal impact. If you use ABS, maintain 100% brake pressure. Otherwise, see above.
Tyres
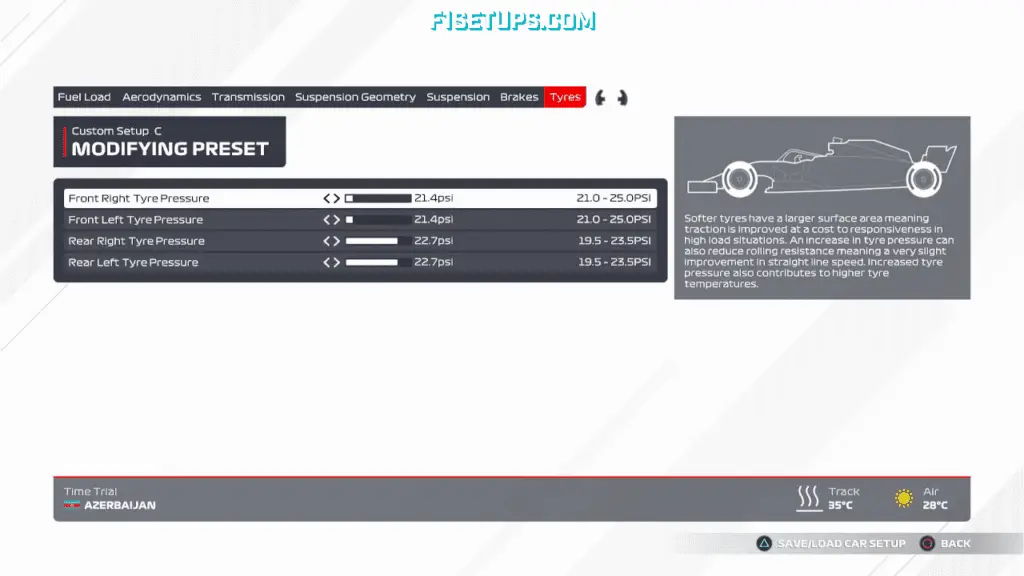
Front Right Tyre Pressure – 21.4 psi
Front Left Tyre Pressure – 21.4 psi
Rear Right Tyre Pressure – 22.7 psi
Rear Left Tyre Pressure – 22.7 psi
Tyre pressures can have a huge impact on wear and traction. Typically high rear pressures and lower front pressures are the way to go, however increasing front pressures here will result in faster lap times. You will pay in front wear, but if you are finding this not to be an issue then increase to around 22.6psi.
Hotlap Setup
This setup is currently the fastest one lap setup we can recommend. bookmark the page and check back as we will be tweaking it regularly as we find extra tenths. Drivability may be compromised in this setup but it is damn quick! Running a race distance on this setup will result in some fairly extreme tyre wear.
Aerodynamics
Front Wing Aero – 6
Rear Wing Aero – 8
A higher front and rear wing angle here, meaning maintaining a high corner speed is critical to keep the lap times down.


Transmission
Differential Adjustment On Throttle – 82%
Differential Adjustment Off Throttle – 56%
High on throttle differential here for acceleration out of corner. This will allow you to be aggressive on the accelerator while the car stays stable and planted. Low off throttle diff will help with the chicane, keep off the gas mid-corner to get the car rotated faster!
Suspension Geometry
Front Camber – -2.80°
Rear Camber – -1.00°
Front Toe – 0.07°
Rear Toe – 0.20°
Standard suspension geometry for this one, with slightly lower front camber.

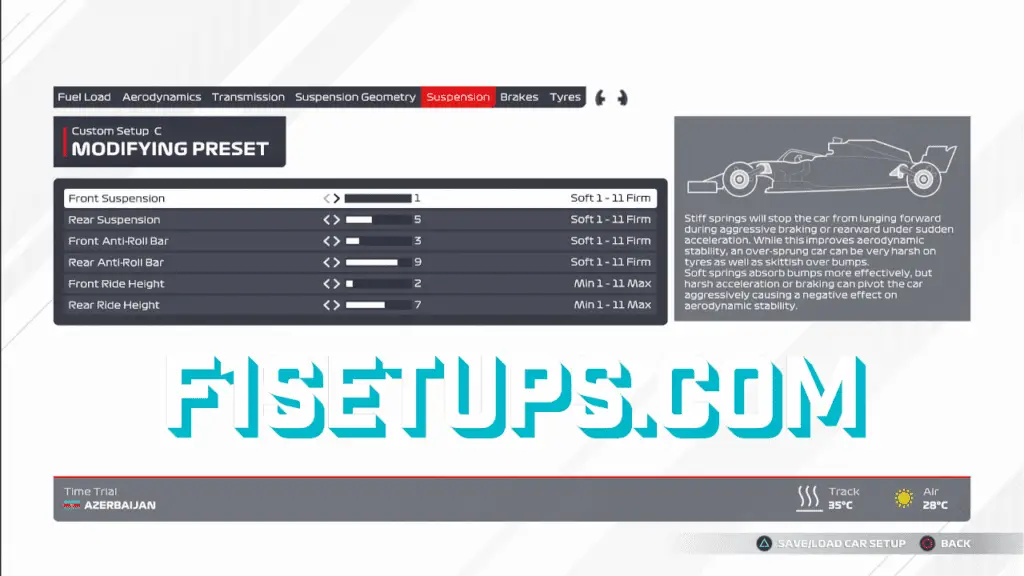
Suspension
Front Suspension – 1
Rear Suspension – 5
Front Anti-Roll Bar – 3
Rear Anti-Roll Bar – 9
Front Ride Height – 2
Rear Ride Height – 7
A radically different set up to the race setup, very good for a one lap time, however be aware tyre life will be reduced with these settings.
Brakes
Brake Pressure – 100%
Brake Bias – 56%
A WR setup just slightly different from our recommended race setup… See, told ya it was good!


Tyre Pressure
Front Right – 25.0psi
Front Left – 25.0psi
Rear Right – 25.0psi
Rear Left – 25.0psi
An extreme setup here for maximum speed. Very fast, but very hot! Don’t expect your tyres to last longer than a few laps with these settings.
Hungary Setup F1 22 Fastest Time Trial Guide 2022
F1 22 Hungary Setup: Race setup, qualifying setup, fastest time trial setup 2022
Welcome to our F1 22 Hungary Setup page! Hungary is one of the most challenging tracks on the F1 22 calendar, and Hungary setup is critical to success. The Hungaroring is a high-speed, high-downforce circuit that puts immense stress on both driver and car. As a result, Hungary setup must be carefully balanced in order to maximize performance. The key to a fast Hungary setup is to find the right balance between grip and aerodynamic downforce. If the car is too grip-heavy, it will understeer through the corners; if it’s too light on downforce, it will be unstable in the high-speed sections. Hungary also features several long straights, so engine power is also important. Ultimately, Hungary setup is all about finding the perfect balance for this unique track. With a bit of help from our guide, any driver can find a Hungary setup that works for them.
For 2021 setups click here!
Hot Lap Setup
Table of Contents
Hungary Race Setup
The lack of straights at the Hungaroring often sees it compared to a karting circuit – and it’s true, the resemblance is uncanny. With several series of corners to string together, teams opt for Monaco levels of downforce, with a well-sorted chassis tending to be rewarded over horsepower given the short straights on offer. It’s a challenge many of the drivers relish, however, with finding a good rhythm key to setting fast lap times.
See our race setup below, with hotlap setup to come and refinements to follow. Be sure to bookmark this page and check back in the future for improvements!
Aerodynamics Setup
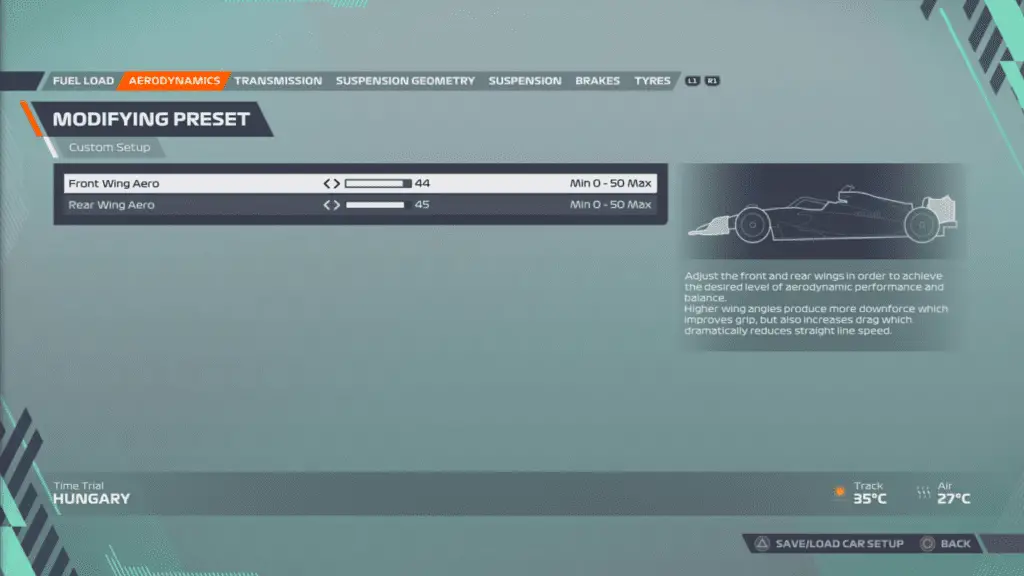
Front Wing Aero – 44
Rear Wing Aero – 45
With the new aero settings, we are recommending a 44-45 wing setup. Monaco levels of downforce are needed to succeed at this circuit, but we lowered both wings slightly for additional speed on the straight. If you are struggling, try pushing both values up to maximum.
Transmission Setup
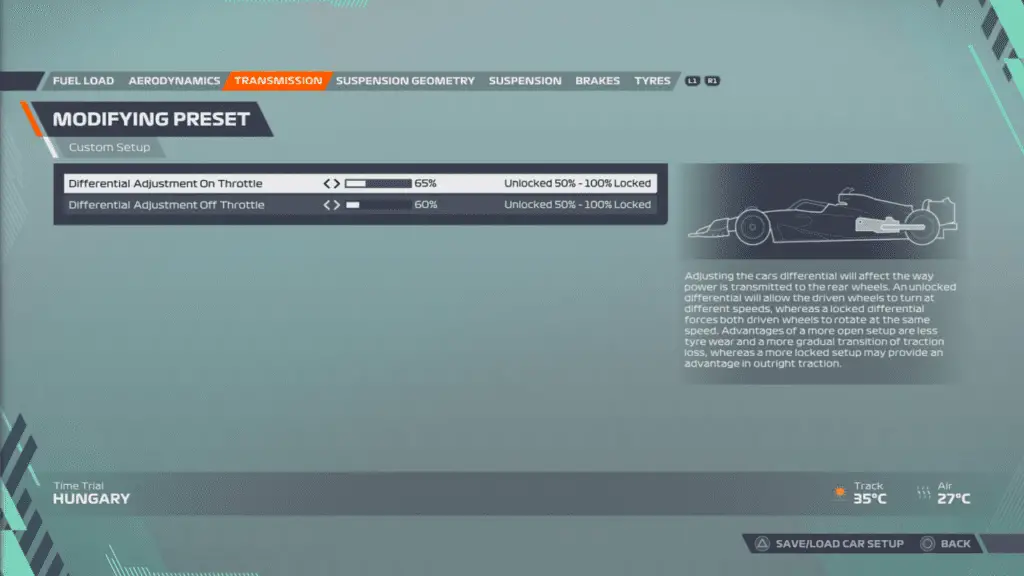
Differential Adjustment On Throttle – 65%
Differential Adjustment Off Throttle – 60%
Transmission is a critical area of the setup for traction, affecting acceleration, grip, rotation, tyre wear, and drivability. Increasing the On Throttle Differential will make the car more stable on acceleration, however, will increase tyre wear. Here in Hungary we will use a 65%/60% setup. This will aid rotation in lower speed corners and should help protect the tyres from excessive wear. Increasing rear diff will improve straight-line acceleration and stability on corner exits, however, will come with a slight cost on wear.
Suspension Geometry Setup
Front Camber – -2.50°
Rear Camber – -2.00°
Front Toe – 0.05°
Rear Camber – 0.20°
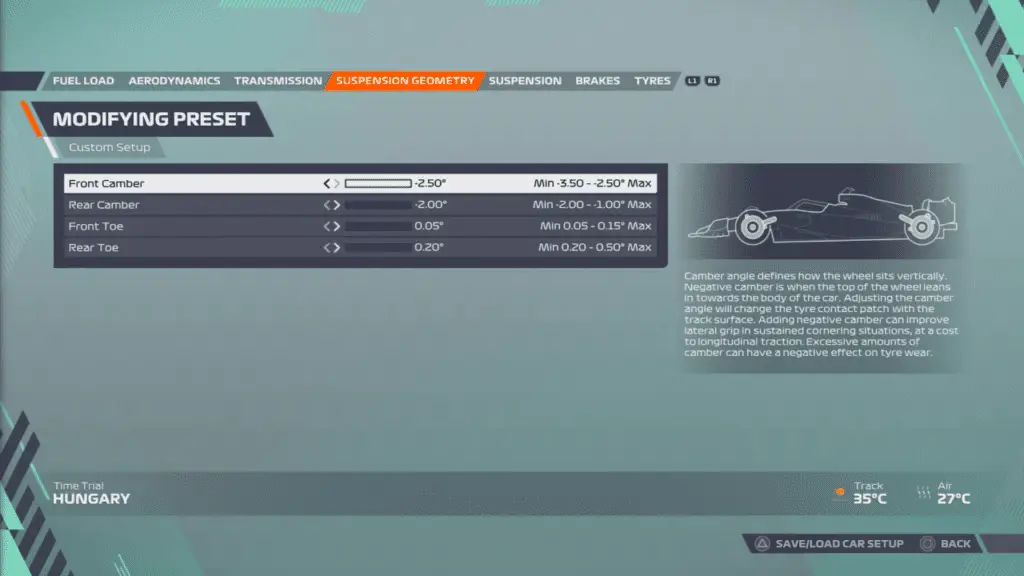
Geometry adjustments mainly impact grip and tire wear, however on F1 22, like F1 2021, most circuits suit the same setup! Stick with high front values, and low rear values in this section for best results at Hungary.
Suspension Setup
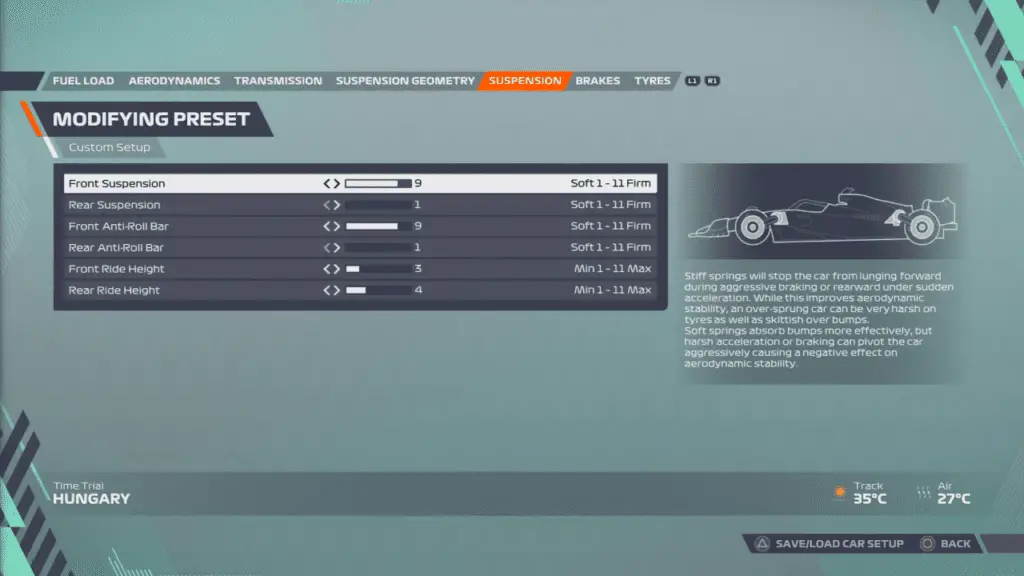
Front Suspension – 9
Rear Suspension – 1
Front Anti-Roll Bar – 9
Rear Anti-Roll Bar – 1
Front Ride Height – 3
Rear Ride Height – 4
Suspension adjustments impact responsiveness and stability through corners. This is probably the most important area of the setup, so if you are struggling with rotation then the anti-roll bars are where you should start. Ride height plays a much more important role this year, so the keep the rear high to avoid the diffuser bottoming out at high speed. Floor damage can ruin performance, so a higher than usual ride height here should help protect those delicate aerodynamic surfaces. For a responsive Hungary setup, we are using a very firm front end, and a soft rear end.
Brakes Setup
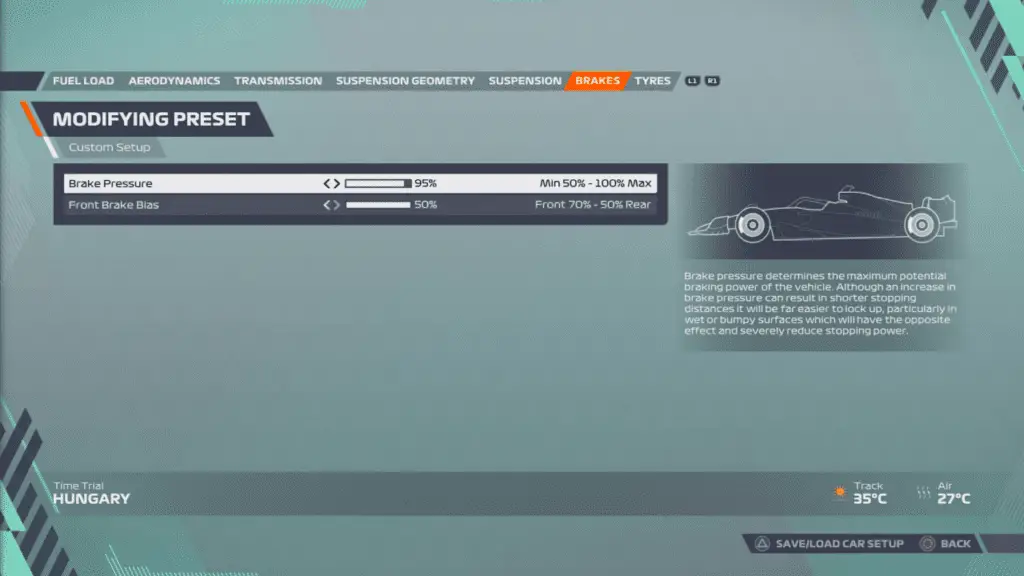
Brake Pressure – 95%
Front Brake Bias – 50%
For players on controller, brake pressure adjustments can have minimal impact. If you use ABS, maintain 100% brake pressure. Otherwise, see above.
Hungary Tyres Setup
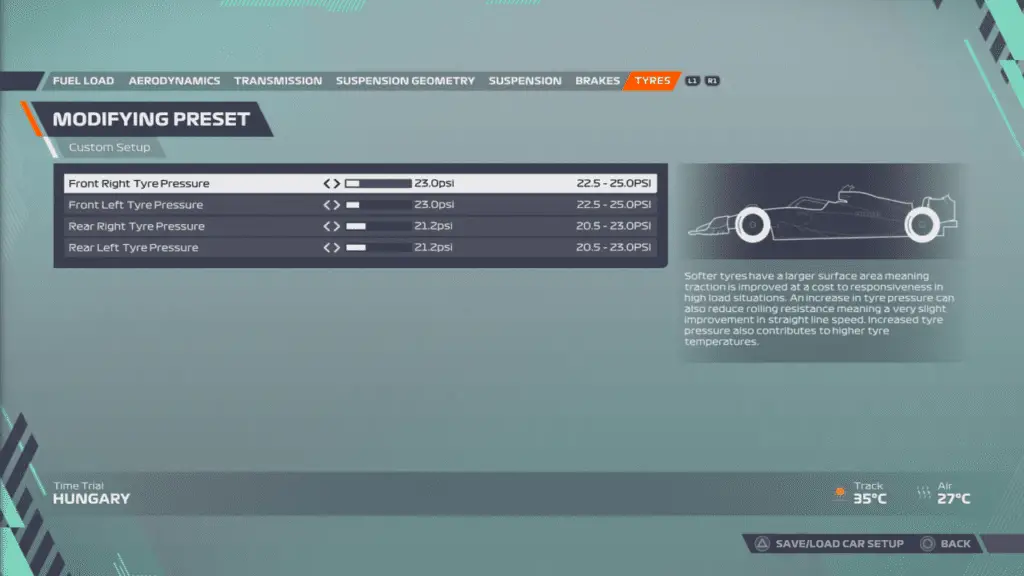
Front Right Tyre Pressure – 23.0 psi
Front Left Tyre Pressure – 23.0 psi
Rear Right Tyre Pressure – 21.2 psi
Rear Left Tyre Pressure – 21.2 psi
Tyre pressures can have a huge impact on wear and traction. Typically high rear pressures and lower front pressures are the way to go, however increasing rear pressures here will result in faster lap times. You will pay in front wear, but if you are finding this not to be an issue then increase to around 23.5psi. For the Hungary setup, lower pressures are better on long runs.
Hungary Hotlap Setup
We are still working on the fastest setup for the hotlap! Unfortunately writers at F1setups.com do this for free, so full time jobs keep us away from developing faster and faster setups for the game as quickly as we would like… But rest assured you will find this updated in a few days, and then again and again each time one of us goes faster!

